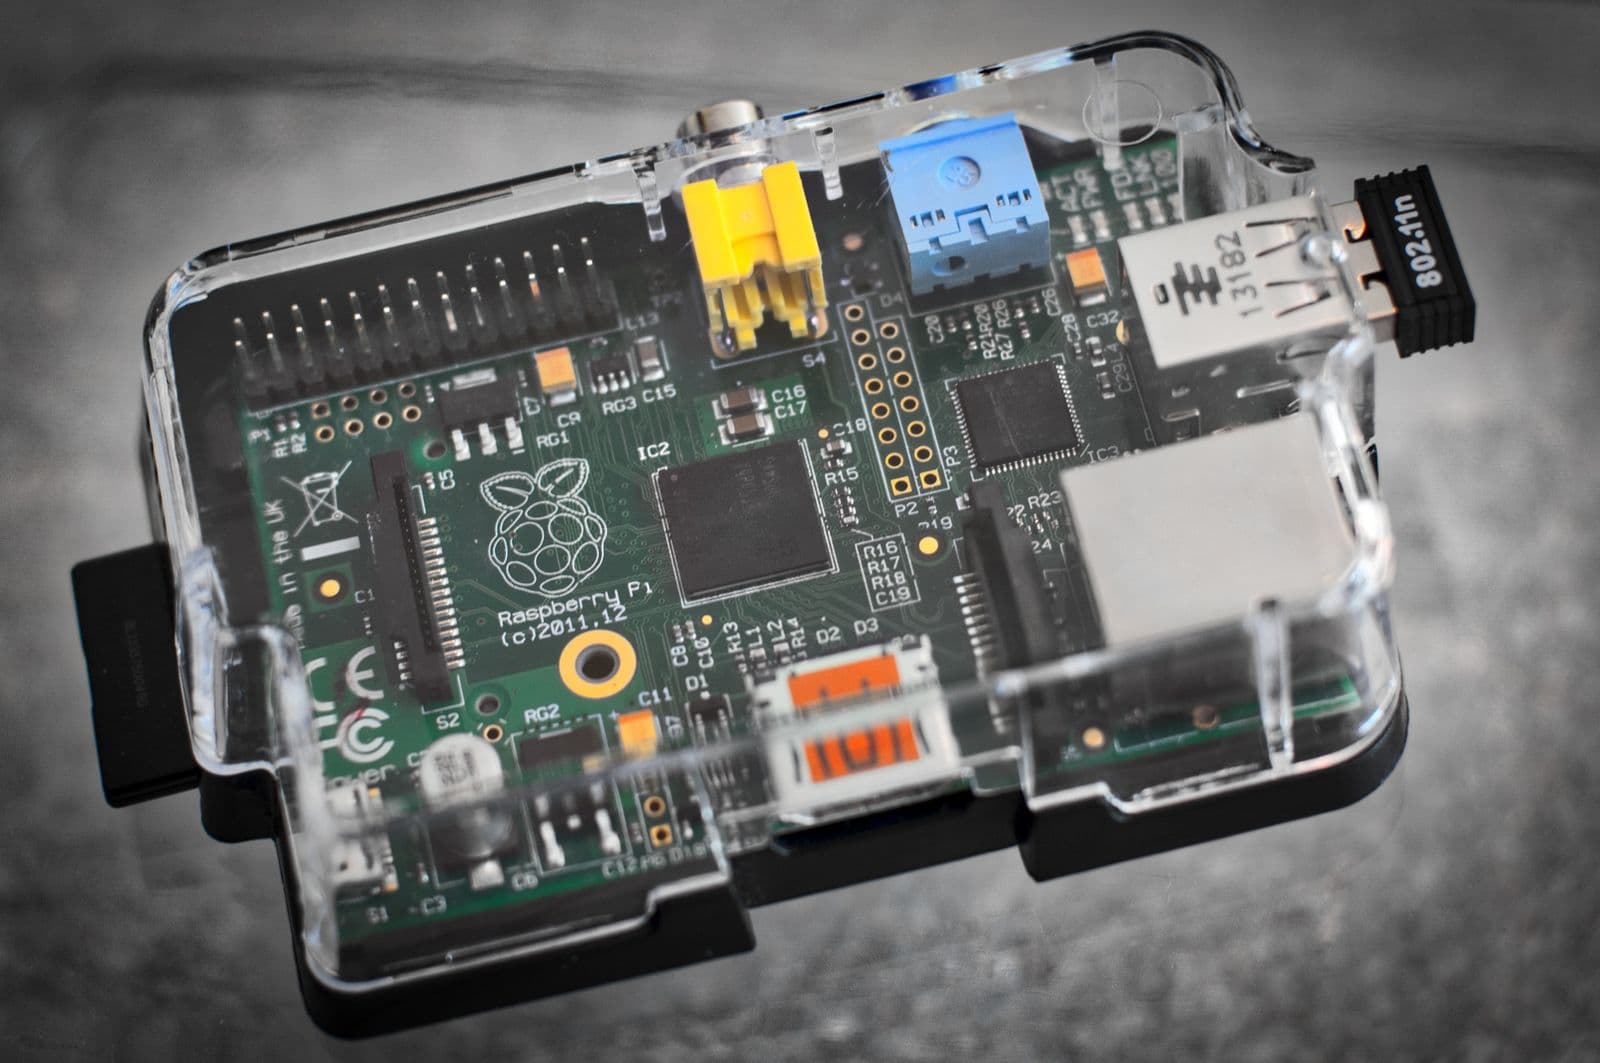
Kubernetes on the Raspberry Pi is easiest with k3s, a lightweight Kubernetes distribution that installs with a single script. Two Raspberry Pi 4 boards with 4 GB of RAM each are enough for a real cluster with one control-plane node and one worker node. That gives you what Minikube and kind cannot: two physical machines, a real network between them, and Services and Ingress that behave the way they do in production.
I built exactly this cluster for my Kubernetes book and have been using it as a training environment ever since. In my day job I build production-grade k3s clusters in a German cloud for mid-sized companies, and my experience is simple: once you have installed k3s on two Pis yourself, you understand far better what happens inside a large cluster. All my articles on the topic are collected on the Kubernetes page.
Why a Raspberry Pi cluster instead of just Minikube
Minikube, kind, and Docker Desktop are perfectly fine for your first steps, as I describe in Kubernetes locally: a cluster on your machine. But all three run inside a virtual machine or inside Docker containers on a single computer. That is where they hit a wall: networking topics such as a Service of type NodePort, an Ingress with a real IP address, or a Pod that lands on a different node than its neighbor can only be simulated.
A cluster built from two Raspberry Pis does not have that problem. The control plane runs on one board, the worker on the other, and there is a network cable in between. When you create a Deployment with two replicas, you see in the kubectl output how Kubernetes spreads the Pods across both nodes. When you pull the plug on one Pi, you see how the cluster reacts. That is hands-on learning, and it costs a fraction of what a second server would.
There is a second reason that matters to me: k3s on the Pi is the same k3s I run in production. Configuration files, paths, systemd unit, node token: all identical. What you learn in your homelab, you take with you to work.
Hardware for a Kubernetes Raspberry Pi cluster
I was unsure at first which models made sense, and in the end I settled on a deliberately small setup that still has some headroom. These are the parts that have been running around the clock on my desk for months:
Strictly speaking, the switch is optional, because the Pis have built-in Wi-Fi. I bought one anyway, because the connection between control plane and worker is more stable with cables, and when I am debugging I do not want to guess whether Wi-Fi or Kubernetes is the problem. For a pure test cluster, Wi-Fi is enough.
My experience with shopping for this: the longer you research, the more expensive it gets. Fans and heat sink kits are not necessary for a training cluster; mine runs for days without any sign of overheating. Memory cards and power supplies you already have at home will do; a 32 GB card is probably enough as well.
One point that matters more on the Pi than on any laptop: the processor is an ARM chip. Every container image you want to run on the cluster has to be built for arm64. The big official images such as nginx, Redis, or PostgreSQL ship as multi-architecture images, but with smaller projects it pays to check the tags before you wonder why a Pod is stuck in CrashLoopBackOff.
Setting up Raspberry Pi OS: Imager, hostnames, SSH
The Pis arrive without an operating system. You need the Raspberry Pi Imager, which writes the system to the SD card. Choose Raspberry Pi OS Lite in the 64-bit variant. Lite means no desktop, and you do not need one on a Kubernetes node anyway. In the Imager, the variant is tucked away under the entry for other operating systems.
Before writing, the Imager offers to customize the system. Use those settings, because they save you a lot of typing later. I set the hostname to raspberrypi1 for the control plane and raspberrypi2 for the worker, create my user, and add my public SSH key under services. That way I can log in without a password right after the first boot.
With both cards written and inserted, the boards start on their own as soon as you connect the power supply. Login works via the hostname with the .local suffix; I keep two terminal windows open side by side:
ssh -i ~/.ssh/pi_key kevinwelter@raspberrypi1.local
ssh -i ~/.ssh/pi_key kevinwelter@raspberrypi2.local
If the hostname does not resolve, check the device list in your router. You will find the IP addresses of the Pis there and can use them directly.
Installing k3s on the Raspberry Pi
For the Kubernetes installation I use k3s, a slightly adapted and very lean Kubernetes distribution built precisely for small devices and edge environments. First, both Pis need two small tweaks, because the Raspberry Pi OS kernel does not enable memory cgroups by default, and without them no kubelet will start.
Open the kernel command line on both Pis with sudo nano and append the three parameters to the end of the single line, separated by a space. Depending on your Raspberry Pi OS release, the file lives at /boot/firmware/cmdline.txt or at /boot/cmdline.txt:
cgroup_enable=cpuset cgroup_memory=1 cgroup_enable=memory
On older Raspberry Pi OS releases you also need to switch iptables to the legacy variant, because k3s otherwise conflicts with the system's nftables mode. Reboot afterwards in any case:
sudo update-alternatives --set iptables /usr/sbin/iptables-legacy
sudo update-alternatives --set ip6tables /usr/sbin/ip6tables-legacy
sudo reboot
Now comes the part that fills several pages of instructions with kubeadm and is one line with k3s. On raspberrypi1, the control-plane node, you install the k3s server. The environment variable makes sure the kubeconfig is readable by your user later:
export K3S_KUBECONFIG_MODE="644"
curl -sfL https://get.k3s.io | sh -
The script downloads k3s, creates a systemd unit, and starts the service. Check that everything is running with sudo systemctl status k3s. Then you need the node token that workers use to register with the server:
sudo cat /var/lib/rancher/k3s/server/node-token
On raspberrypi2 the same script runs, but with two extra variables: the URL of the control plane and the token from the previous step. The script recognizes from those variables that it should install an agent, not a server:
export K3S_KUBECONFIG_MODE="644"
export K3S_URL="https://raspberrypi1.local:6443"
export K3S_TOKEN="K10...abc"
curl -sfL https://get.k3s.io | sh -
The .local name only works while mDNS is running on your network and the Pis announce themselves there. For a cluster meant to stay up, the fixed IP address of the control plane is the more reliable choice, because a broken name resolution would otherwise block the join and every later restart of the agent. Back on raspberrypi1, sudo k3s kubectl get node shows you whether the worker has joined. The output looks like this:
NAME           STATUS   ROLES                  AGE
raspberrypi1   Ready    control-plane,master   3m
raspberrypi2   Ready    <none>                 40s
Kubernetes is now running on your Raspberry Pis. The script always installs the current k3s release; that is fine for practice, but in production I would pin the version.
Getting the kubeconfig onto your own machine
On the control plane you can work directly with the built-in kubectl. It is more comfortable to drive the cluster from your laptop, with your own kubectl, your aliases, and a tool like Lens. For that you need the kubeconfig, which k3s stores on the server at /etc/rancher/k3s/k3s.yaml.
Copy its content into an editor and change the line server: https://127.0.0.1:6443 to the name or IP of the control plane, for example server: https://raspberrypi1.local:6443. Without that change, your kubectl would try to find a cluster on your own machine. You can use the adjusted file in three ways: import it only into Lens, store it as a separate file at ~/.kube/pi-cluster.yaml and point the KUBECONFIG variable at it, or merge it with your existing kubeconfig. I find the third option the most elegant, because afterwards you switch between Minikube and the Pi cluster with kubectx without setting any variables:
cp ~/.kube/config ~/.kube/config-backup
export KUBECONFIG=~/.kube/config:~/.kube/pi-cluster.yaml
kubectl config view --flatten > ~/.kube/config-merged
mv ~/.kube/config-merged ~/.kube/config
kubectl config get-clusters
The last line lists all known clusters. If your Pi cluster shows up there, you are done. How merging kubeconfigs works in detail is described in the Kubernetes documentation.
First test: a Deployment across both nodes
The fastest proof that your cluster is more than a Minikube is a Deployment with two replicas. Kubernetes spreads the Pods across both nodes by default, and that is exactly what you will see in the output:
apiVersion: apps/v1
kind: Deployment
metadata:
  name: hello-pi
spec:
  replicas: 2
  selector:
    matchLabels:
      app: hello-pi
  template:
    metadata:
      labels:
        app: hello-pi
    spec:
      containers:
        - name: nginx
          image: nginx:alpine
          ports:
            - containerPort: 80
Save the file as hello-pi.yaml and apply it. With the -o wide flag, kubectl shows you which node each Pod landed on:
kubectl apply -f hello-pi.yaml
kubectl get pods -o wide
The NODE column should show one Pod on raspberrypi1 and one on raspberrypi2. The nginx image is a multi-architecture image, so the Pi automatically pulls the arm64 variant. From here you can try everything that only half works in a single-node cluster: call a Service of type NodePort on both IP addresses, use the Traefik ingress controller that k3s ships with, or switch off one Pi and watch Kubernetes restart the Pod on the other node.
Limits of the Pi cluster and when the cloud is the better choice
A cluster of two Raspberry Pis is a learning environment, not a platform for client projects. The 4 GB of RAM per node fill up quickly once you run monitoring, a database, and a few applications at the same time. The SD card is slower than any SSD, and arm64 container images do not exist for every niche project. The nice thing about Kubernetes: when the cluster hits its limit, you plug in a third Pi and run the agent script once more.
One detail about resilience that surprises many people: precisely because your Pi cluster has only one control plane, you can switch the Pis off and on at any time. The cluster comes back up cleanly afterwards. With three control-plane nodes it is trickier: if two of them go down at the same time, etcd loses its majority and the cluster stops accepting changes until enough nodes are back. Why that is the case is explained in Kubernetes architecture: the components. For production you need that high availability; for a homelab, the single control plane is an advantage.
When is the cloud the better choice? As soon as something has to serve other people, as soon as you have data whose loss would hurt, or as soon as you want to test high availability. My production workloads run on k3s clusters with three control-plane nodes in three data centers, with GitOps via ArgoCD and Helm. The Pi cluster is the workbench next to it, where I try out new charts and policies first.
If you are planning a production cluster like that for your company and want support along the way, my page Kubernetes Expert: Consulting and Operations shows what I offer.
Frequently asked questions
Is a single Raspberry Pi enough for Kubernetes?
Yes, k3s also runs on a single Pi as a server that acts as control plane and worker at the same time. That lets you practice Pods, Deployments, ConfigMaps, and Secrets. But the real advantage over Minikube, scheduling across several nodes and real networking, only arrives with the second Pi.
k3s or Kubernetes with kubeadm on the Raspberry Pi?
For the Pi, k3s is clearly the better choice. It is a full, certified Kubernetes, just packaged more leanly: one binary, SQLite instead of etcd on a single control plane, Traefik and a load balancer included. kubeadm works on the Pi too, but needs considerably more manual work and more memory. If you want to practice kubeadm for a certification, you are better off in virtual machines.
How many Raspberry Pis do I need for a Kubernetes homelab?
Two are enough to try out every Kubernetes concept that shows multi-node behavior. Three or more pay off when you want to test node failures with several workers or run applications with higher memory needs. I would not recommend three control-plane nodes on Pis; power and network interruptions are too common in a homelab for that.
Can I run the cluster over Wi-Fi?
Yes, the Pis have built-in Wi-Fi and k3s makes no special demands on the network. I still use a switch with cables, because the connection between control plane and worker is more stable that way and I have one source of error less when debugging.
Why does my Pod not start on the Pi even though it runs on my laptop?
The most common reason is the processor architecture. The Raspberry Pi has an ARM chip, and an image built only for amd64 will not start there. The Pod then ends up in CrashLoopBackOff or ImagePullBackOff. Check the image repository for an arm64 tag or a multi-architecture image, or build the image for arm64 yourself.
Where to go from here
Once your cluster is running, the next step is to use it: a Deployment with Service and Ingress, a node failure, a second namespace. The order I recommend for getting started is in Learn Kubernetes, and the alternatives for when you do not want to buy hardware yet are in Kubernetes locally: a cluster on your machine.
All of this, with every example, is covered in chapter 2 of my book "Kubernetes: Practical Guide for Developers and DevOps Teams" (Rheinwerk Computing). There I build the Pi cluster step by step and use it in later chapters for networking, storage, and monitoring exercises.